
Intermediate Floors
Learn about the orientation and layout of LGS floor trusses & see examples of different systems.
Learn about the orientation and layout of LGS floor trusses & see examples of different systems.
The orientation and layout of floor trusses and joists will vary according to structural requirements and services that need to be incorporated into the floor system e.g., plumbing, air conditioning, etc.
The manufacturer will provide detailed site drawings which will show the location and orientation of each flooring joist. Further, all manufacturing systems will either provide brackets or fasteners for attaching intermediate floors to wall frames or they will be specified.
Generally, a floor joist’s location will need to be site measured using the dimensions shown on the detailed site plans. The floor joist is then lifted into place and fastened to the wall frames using the specified fasteners.
Bulkheads can be integrated into the build. If space is unavailable for the services, consult your frame fabricator for approvals.
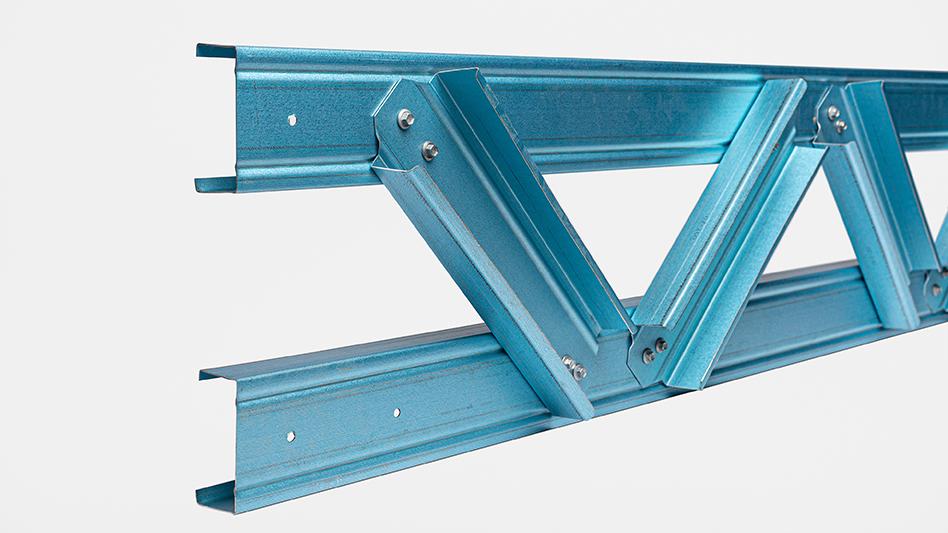
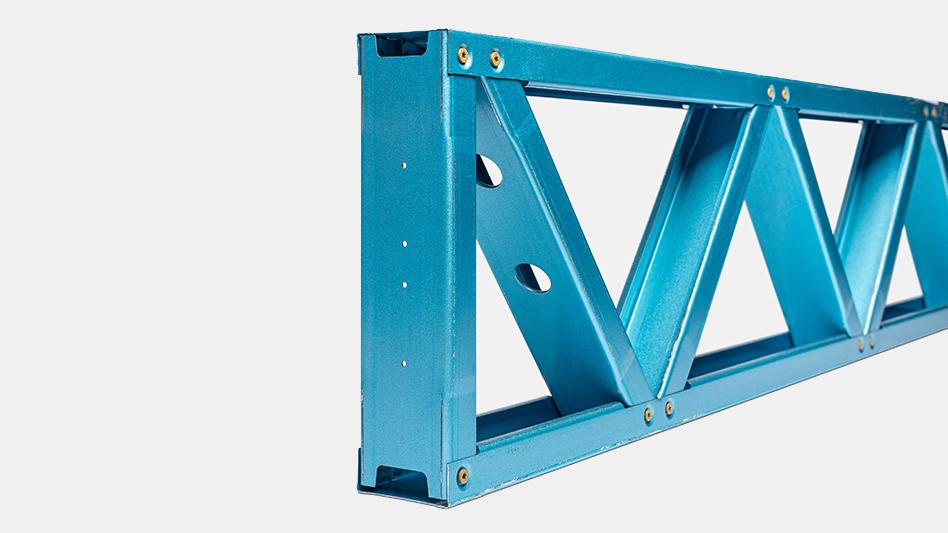
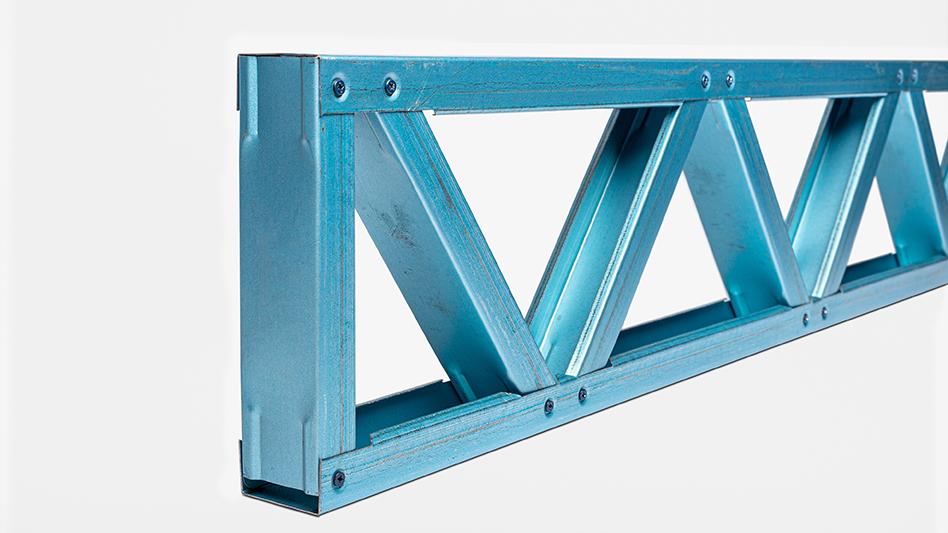
The images below show intermediate flooring designs from a range of light gauge steel framing systems. The appearance of intermediate flooring systems, such as the shape and orientation of members comprising the system, can vary.
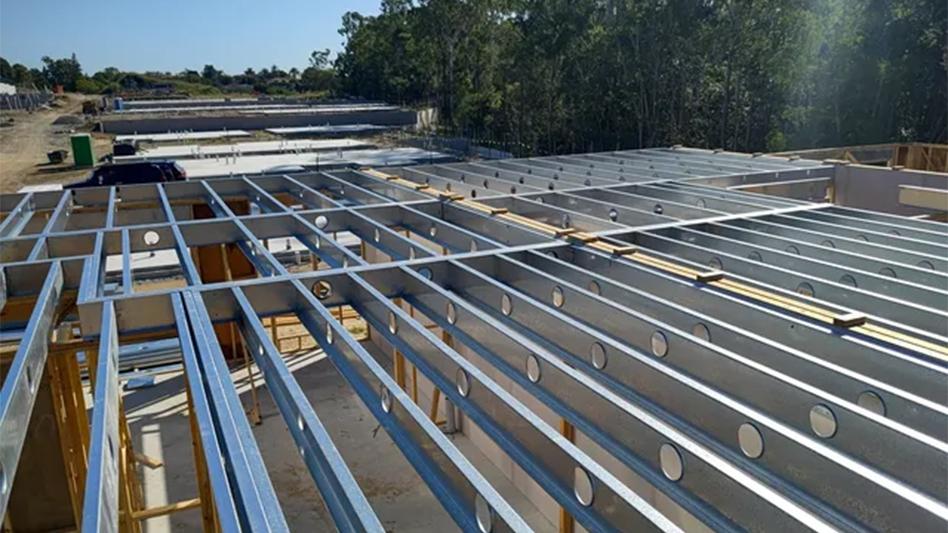
The images below show some other proprietary flooring systems that have larger pre-punched service holes to accommodate services including plumbing and electrical.


This design guide outlines details of different connectors for steel framing, and includes information such as specifications, design capacities, fasteners and connection diagrams.

In this topic, we look at tips on installation such as fastening and truss examples.