
Warning

Erecting two wall frames

(0:03) As carpenters you'll be familiar with laying your frames in line with your site lay plans. We'll now show you how to stand a wall frame and pre-cut a bottom plate for a door opening.

(0:15) One of the most critical elements when building a light gauge steel home is to follow your steel frame fabricator’s installation guidelines and instructions.

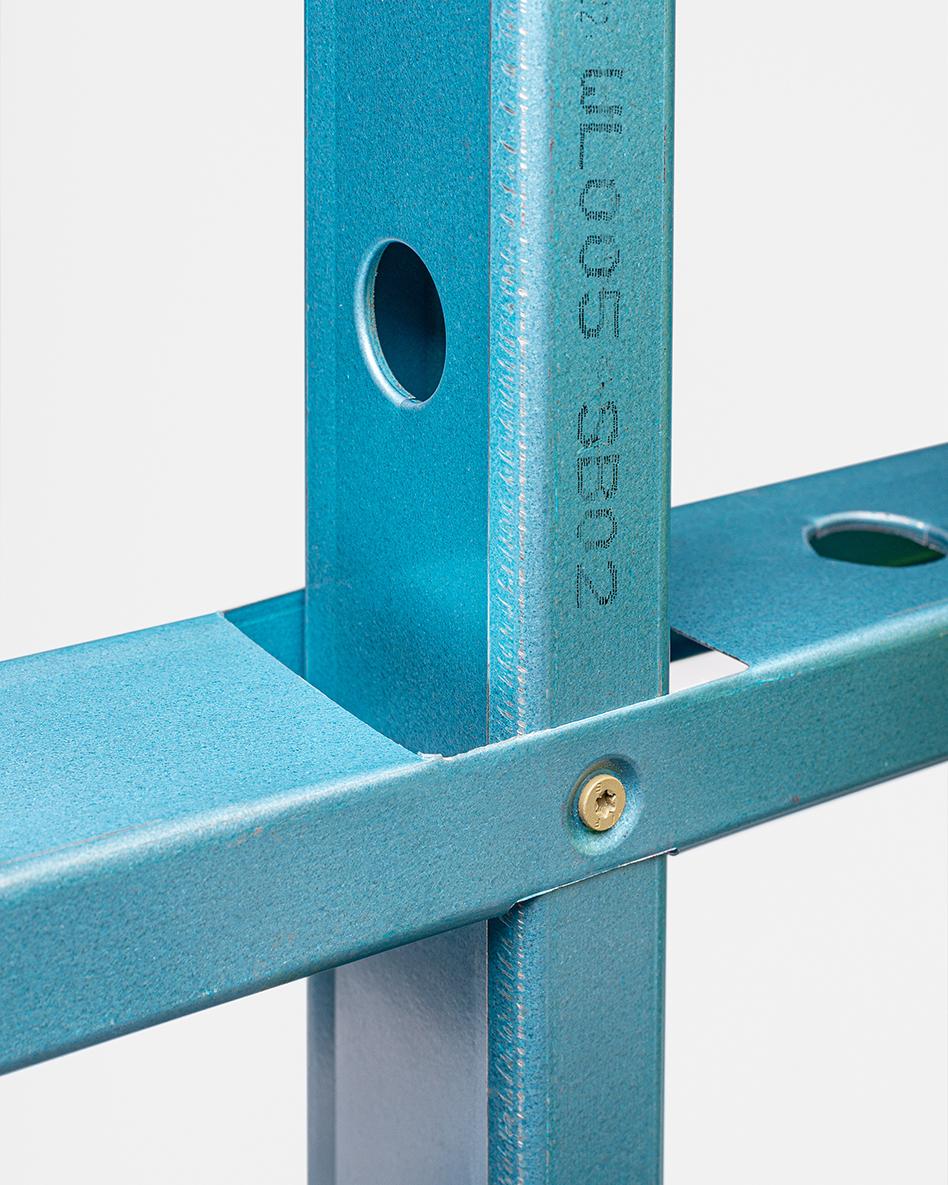
(0:35) These will include specific site lay plans as well as the manufacturer's proprietary system details such as connections and markings. Each steel frame system will have their own format for marking frame components.

(0:51) In this example the Enduro CAD system stamps their markings on the outside face of the components.

(0:59) In this example TAFE_SESSION is the job ID. W003EXT is the frame number; 2-BP is the part usage; 1998 is the part length.

(1:15) The actual process of building with a steel frame is very similar to building with any other material. Correctly marking out the slab to position the frame on site as per the site plan involves the same techniques and skills.

(2:24) Some frame manufacturers will also provide their plans in 3D format that allows you to view the build in more detail and from various angles.

(2:34) To protect the steel framing from ground moisture, an impermeable membrane should be installed under all perimeter bottom plates fixed to concrete slabs on ground. The membrane should extend up the weather side flange of the bottom plate. Membranes may be factory applied or you may need to apply it on site.

(3:26) Following your frame installation instructions, stand the first two walls and temporarily clamp. Here an automatic self-adjusting c-clamp is used.

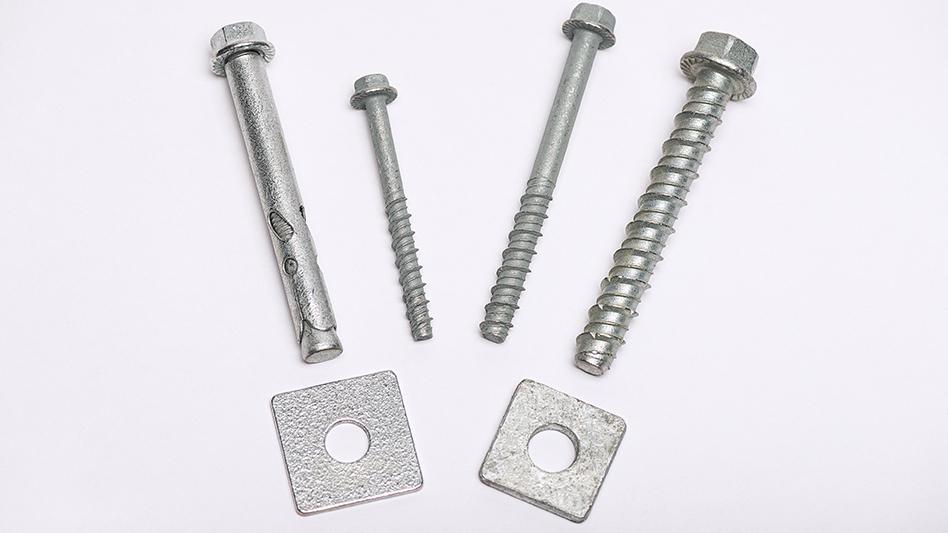
(4:08) To fix the walls, ensure your fasteners comply with the fabricator's instructions, in terms of mechanical properties, gauge, size and durability. As a minimum, they must have equivalent durability to the frame. The correct choice of fastener is critical to long term performance when fixing steel products. Fasteners used to fix your steel framing must be suitable for corrosivity environment Category 3 or higher. Fastener providers have posters showing types and application. Here is an example of one from Buildex.

(5:45) Prior to erecting the wall it is more efficient to pre-cut just the bottom plate of door openings for ease of later removal.

(6:17) When frames are clean cut, no further corrosion protection is required.

(6:30) Bracing should not be done too early in the build as you may find that some walls will not align. This might be due to an uneven slab. Bracing should always be completed before moving on to trusses for safety reasons. Temporary braces are left in place permanently. To adjust the frame, remove the bottom fastener from the K brace.

(7:20) Adjust the brace until the stud is plumb, then secure with two fasteners on the inside and outside of the plate.

(8:08) Strap bracing is another form of bracing. The frame is plumbed by tightening or loosening the strap tensioners. The straps are then fixed to each frame member they cross. Sheet bracing is another form of bracing that may be used.

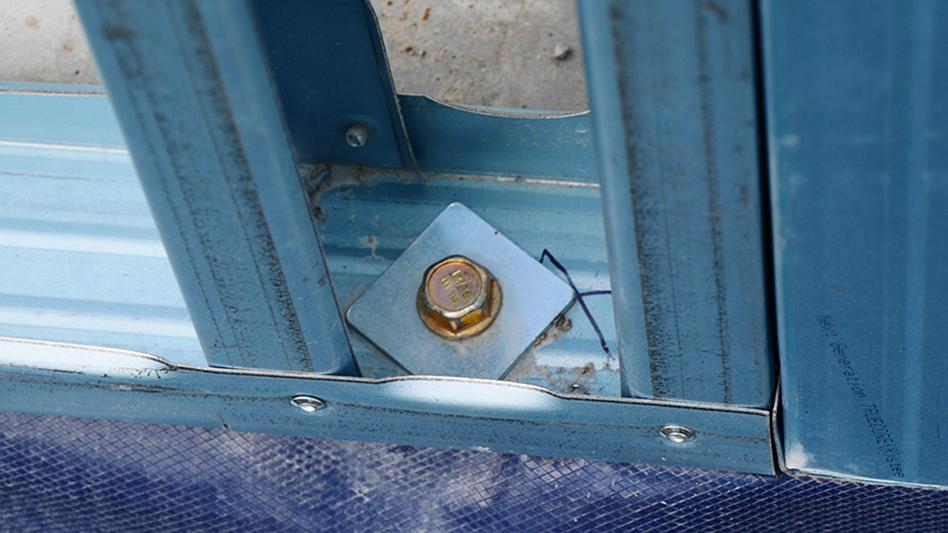
(9:02) Tie-down bolts should be installed to the slab edge in accordance with the distance required to meet the uplift performance and following the installation method specified and in accordance with engineering requirements for frame tie-down.

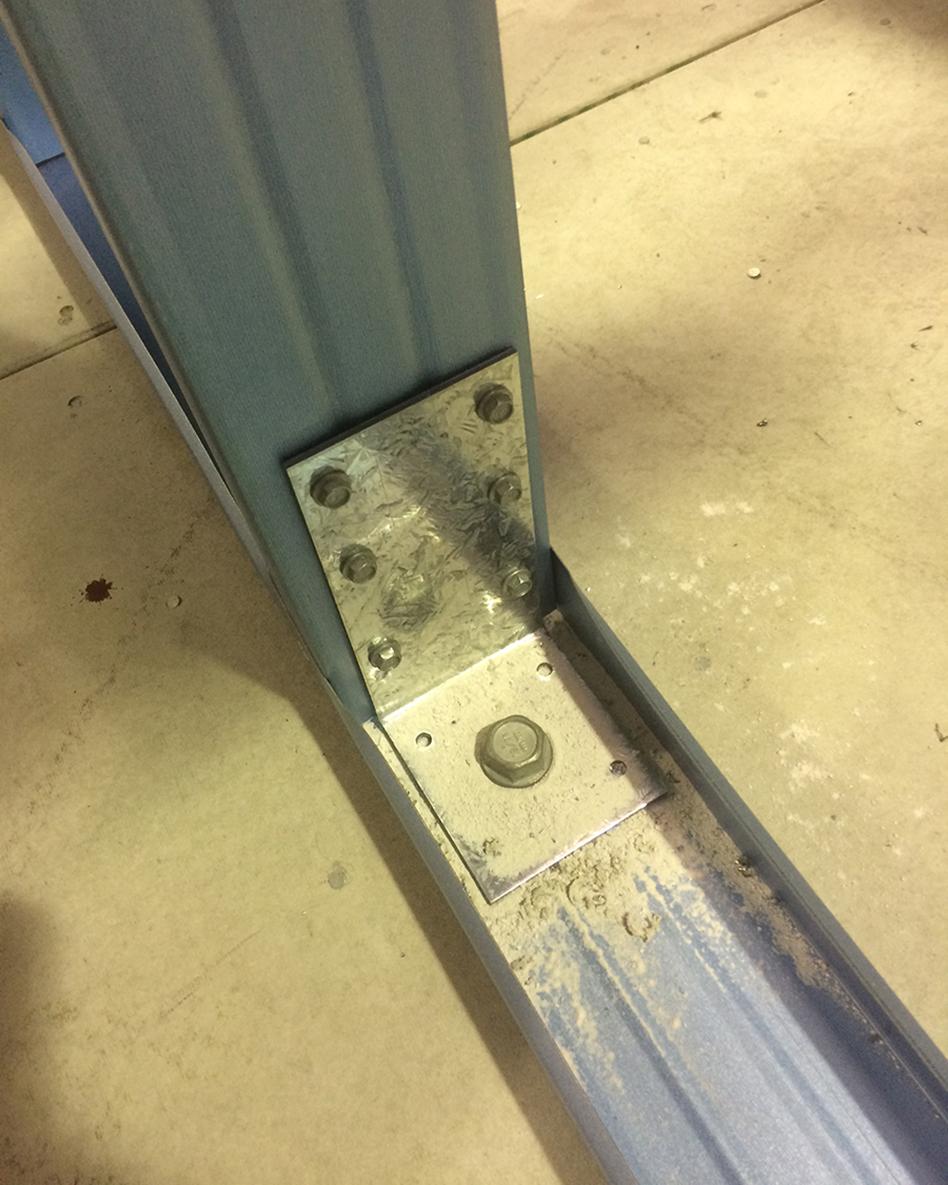
(9:14) A steel frame does not require drilling multiple threaded rods from the base through to the top plates, as wall studs and bracketry can meet the tie-down requirement. Different systems have different tie-down solutions.

(9:29) Here the EnduroCAD system uses a bent tab to connect the stud and frame to the slab. These design solutions make tie-down in the frames easy and quick.

(9:41) Another alternative shown here is a simple anchor bolt and washer. Light gauge steel wall tie-down systems incorporate full load paths connections from trusses upper structure through studs to foundations for large opening and high wind zones.

Erecting Wall Frames

Introduction

Construction using Light Gauge Steel (LGS) is similar to timber in that the frames need to be located on the foundation (or floor) using a chalk line or similar process.

They differ in that the LGS frames have a specific orientation that site layout plans will show. Ensure the branded frames are orientated as shown on the wall layout. While erecting wall frames, ensure that each frame is erected:

  • in the correct position 
  • correctly orientated
  • plumb and straight
  • appropriately fixed or temporarily braced.

Always follow the frame fabricator’s site plans and manuals for specific details.

During the detailing/fabrication process, wall frames are numbered for accurate identification. These numbers are shown on the wall frame layout plans and form part of the frame branding. Frames may have identical shapes but may differ in the configuration or internal connections. Ensure that the correct frame is used in its unique location and is facing the right direction to ensure that openings are in the correct location.

Supaloc Double Stud to Noggin Closeup

Best practice to protect wall framing from ground moisture is to install an impermeable membrane under all perimeter bottom plates fixed to concrete slabs on ground. Refer to DPC topic for further information.

All structures will require some form of tie-down between frame elements to ensure load paths are correctly resisted. When tying down frame elements all connections should be in intimate contact. Any significant gaps (> 3 mm) should be packed e.g. gaps between bottom plates and concrete slab. Any gaps should be packed directly under the studs with a non-compressible packer. This will prevent distortion of LGS frame members.

There is a range of tie-downs available and these will vary depending upon the frame manufacturer and suppliers’ technologies.

Particular attention should be paid to:

  • Ensuring that any tie-down brackets are attached to studs as noted by the frame manufacturer; 
  • Bottom plate tie-downs that are under trusses (especially girder trusses), beside openings, at the ends of strap bracing and at the end of wall panels; 
  • Tie-down bolts are to the frame supplier’s specification and suitable for the uplift loads at the locations indicated in installation drawings. Tie-down bolts should be installed to the slab edge distance required to meet the uplift performance and follow the installation methods specified.

Any fasteners used in hold-down connections should have equivalent durability to the frame and be corrosion protection Class 3 or better and must be compatible with steel.

Specified masonry anchors may take the form of screw anchors, dynabolts and masonry nails for internal/temporary walling. Holes need to be cleaned in accordance with anchor suppliers’ recommendations.


Masonry Fasteners

When fixing frames to slabs, installers may experience two types of connections:

Standard fixing through the bottom plate with screw-in masonry anchors with load transfer washer plate:

Bottom plate with Masonry anchor and load plates

OR

Masonry anchor attaches to both stud and bottom plate and studs act as a tie-down rod for truss connections (this can improve load path capacity and can eliminate the use of tie down rods and hence save costs):

Masonry anchor attaches to both stud and bottom plate and studs act as a tie-down rod for truss connections

When joining wall frames together, consider the following:

  • Make sure outside faces are flush and top plates level with each other.
  • Review manufacturer’s specifications for fastener type and coating class and ensure these are on-site.
  • Drill two hex head screws near the top plate into the corresponding frame intersections, followed by two hex head screws near the noggins. Finally, add two screws near the bottom plate or to manufacturers specification.
  • Consider using “C” Clamps to hold the frames in place while they are screwed together.

Pryda has anchor systems for steel framing – refer to below Resources for catalogue.

Resources